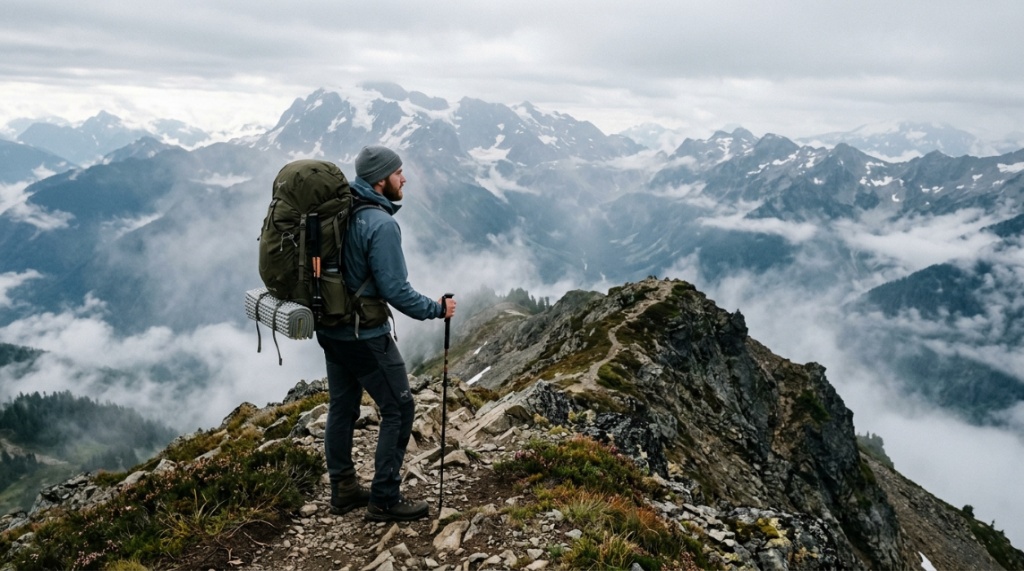
Imagine standing at the trailhead of the Enchantments, rain drizzling, and your pack’s shoulder strap snaps under the weight of your gear. That’s not just an inconvenience—it’s a safety hazard. The problem is that most hikers choose a pack based on volume alone, ignoring the rugged demands of Washington’s Cascades, Olympic rainforests, and high desert trails. You need more than storage; you need a system engineered to survive wet, abrasive, and steep conditions. That’s why finding a durable camping backpack for men isn’t about picking the biggest bag—it’s about selecting the right materials, frame, and weather resistance for the Pacific Northwest’s punishing terrain.
In this guide, you’ll learn the exact criteria to evaluate before buying, including fabric denier, frame types, and waterproofing. We’ll break down what works for weekend trips versus multi-week expeditions, and how to match the pack to your specific WA hiking style. You’ll also discover common durability pitfalls that even experienced hikers overlook, plus a practical checklist for testing a pack in-store. By the end, you’ll know precisely how to invest in a pack that survives years of switchbacks, scree fields, and sudden downpours—without breaking your back or bank.
What Makes a Camping Backpack “Durable” for Washington Terrain?
Durability isn’t a single feature; it’s a combination of abrasion resistance, tear strength, weatherproofing, and hardware quality. For WA hikes, the pack must withstand constant rubbing against rock faces, wet vegetation, and repeated compression from heavy loads.
The primary culprits of pack failure are thin fabrics (under 300 denier), weak zippers, and non-coated seams. Washington’s unique mix of volcanic rock and damp air accelerates wear. A durable pack uses high-denier nylon (420D to 1000D) on the bottom and sides, coupled with YKK #10 zippers and weather-sealed seams.
Fabric Denier and Material Science
Denier measures fiber thickness—higher numbers mean heavier, more abrasive-resistant cloth. For WA, look for 500D on the main body and 1000D on the base and hip belt. Ripstop nylon, woven with reinforcing threads, prevents small tears from spreading.
Consider Dyneema or Cordura for ultra-light ultralight packs, but note that Dyneema has poor puncture resistance. A balanced choice is ballistic nylon (1680D) for the bottom, which handles granite friction without adding excessive weight.
Frame Systems: Internal vs. External
Internal frames (aluminum stays or carbon fiber) hug your back better for technical scrambles. External frames, while less common, offer superior load transfer for very heavy loads but can snag on brush. For WA’s uneven trails, an internal frame is more durable because the frame is protected inside the fabric.
A key durability indicator is the frame attachment points. Look for reinforced, stitched brackets instead of glued or plastic welds. For loaded packs over 40 lbs, check the bottom frame support—it should be made of metal, not plastic.
Why Is Pack Weight Distribution Critical for Durability?
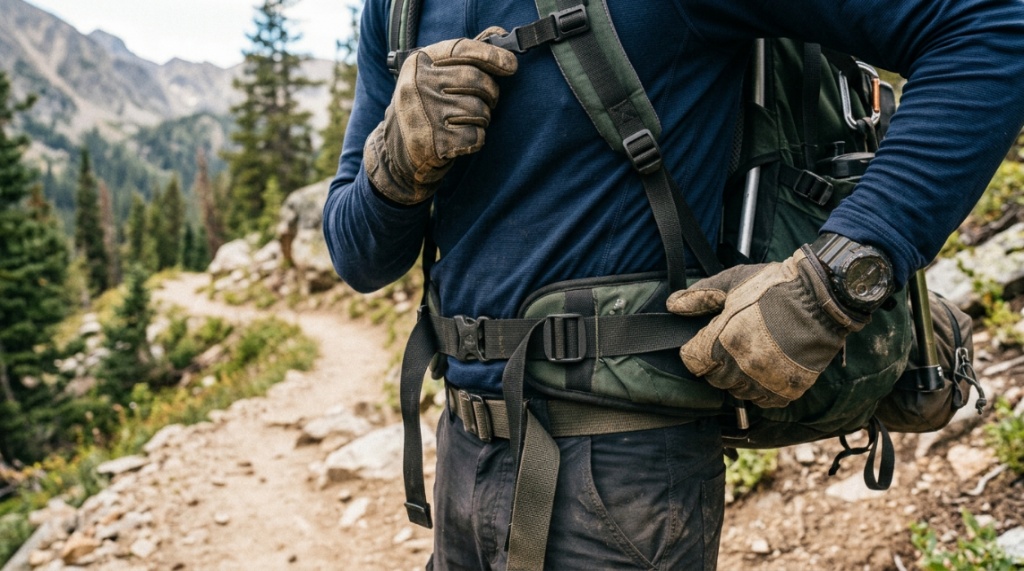
Proper weight distribution doesn’t just improve comfort—it reduces stress on the pack’s seams and zippers. Overloading the top or bottom creates torque that tears attachments. A durable pack is designed to carry weight closer to your spine and hip bones.
If the pack’s suspension (shoulder straps, hip belt, and load lifters) is misaligned, the fabric constantly shifts, causing abrasion and seam fatigue. For example, a pack loaded with a heavy tent at the bottom pulls backward, straining the shoulder strap anchors.
How to Pack to Maximize Pack Longevity
Place the heaviest items (water, fuel, food) vertically along your back, between your shoulder blades and hips. This maintains the pack’s center of gravity and prevents hard objects from digging into the fabric.
Use internal compression straps to stabilize the load. A loose pack bounces more, which accelerates wear on internal coatings and stitching. Always secure the load lifter straps at a 45-degree angle from the top of your shoulders.
Signs of Poor Weight Distribution You Should Not Ignore
If your hips hurt more than your shoulders, the hip belt is too loose or too high. If the pack lists to one side, the frame is likely twisted—a common cause of structural failure. Also, listen for rubbing sounds—that’s fabric-on-frame friction, which wears away waterproof coatings.
Check your sternum strap position. It should sit just below your collarbone at the width of your chest. An incorrectly placed sternum strap causes the shoulder straps to slide, stretching and degrading the webbing.
How Does Weatherproofing Affect Pack Lifespan in WA?
Washington’s trails see rain almost year-round, even in summer. Water is the #1 enemy of backpack durability—it degrades PU coatings, rusts zippers, and weakens thread. A waterproof pack prevents internal mold and external delamination.
Look for either an IPX-rated pack or a durable rain cover built-in. However, most packs are only water-resistant. The real durability factor is how well the pack handles repeated wetting and drying without becoming brittle.
Waterproof Coatings vs. Waterproof Fabrics
Most packs use a PU (polyurethane) coating on the inside. Check the thickness—double-coated (2000mm+ waterproof rating) lasts longer. TPU (thermoplastic polyurethane) is more durable and elastic than standard PU, which easily flakes off after a season.
Alternatively, packs made from laminated fabrics like Dyneema or PVC-laminated polyester are fully waterproof. They don’t need coatings, but they are heavier and less breathable. For WA’s wet coast, a hybrid pack with a showerproof main fabric and a reinforced rain cover is the most practical compromise.
Seam Sealing and Zipper Protection
High-frequency welded seams are superior to stitched seams for waterproofing. Stitched seams create micro-holes that leak even with seam tape. If the pack uses stitched seams, press on the tape—if it feels spongy, it’s starting to peel.
Protect zippers with a water-repellent treatment, and ensure the zipper garage (a fabric flap over the end) is long enough to seal completely. Corrosion-resistant zippers (e.g., #10 YKK with water-resistant sliders) are a sign of a premium, long-lasting pack.
Now, take the next step: evaluate your current pack against the criteria in this guide. If it’s made of lighter material or has flaking coating, it’s time to upgrade. Invest in a durable camping backpack for men that excels in abrasion resistance and repairability. Your back—and your future weekends on the John Muir Trail—will thank you. Go inspect your pack’s bottom right now; if you see white, it’s time to buy your final backpack.
Which Materials Are Most Resistant to WA’s Abrasive Rocks?
In the Cascades, granite and basalt are abrasive as sandpaper. Cordura (a brand of nylon) is the gold standard due to its high tear strength. For maximum durability, check the pack’s “wear zones”—the bottom, front pocket, and hip belt edges.
The best packs for WA use a mix of 500D Cordura for the main body and 1000D Cordura for the bottom. Some ultralight packs use Robic (a high-tenacity nylon) which has excellent abrasion resistance per ounce.
Cordura vs. Ripstop vs. Dyneema
- Cordura: Abrasion-resistant, heavy, and UV-stable—best for harsh conditions. Examples: Osprey Aether, Gregory Baltoro.
- Ripstop: Light and tear-resistant but less abrasion-proof—good for pack bodies, not bases.
- Dyneema: Super-light and 15x stronger than steel but very expensive and punctures easily. Use dry bags inside for sharp objects.
For WA’s mixed alpine and forest terrain, choose a pack with a thick bottom layer (at least 500D) and a roll-top closure to eliminate zipper failure.
Hardware and Buckles: The Often-Ignored Durability Factor
Plastic buckles are cheap and fail at low temperatures. Look for buckles made of POM (acetal resin) or aluminum. Check the hip belt buckle—it’s under maximum tension. A metal cam buckle or a high-grade buckle rated for 500 lbs is a good sign.
Compression straps with plastic side-release buckles also wear out. Replaceable parts are important—choose packs that are repairable, as a broken buckle can ruin a trip. Many premium brands like Mystery Ranch offer a lifetime guarantee on hardware.
Can You Repair a Backpack on the Trail or at Home?
Yes, but the repairability of a pack determines its real durability. A pack that can be patched, re-stitched, or re-coated will last decades. Nonsense-built packs with molded parts are disposable.
In the field, you can fix a torn seam with Tenacious Tape (a UV-cured patch) or a small sewing kit with nylon thread. For home repairs, replace or reglue coatings using seam grip or MC-25 base coat. Avoid heat-sealing as it melts nylon.
Essential Repair Kit Items for WA Hikes
- Tenacious Tape (for holes)
- Nylon thread and a heavy needle
- Zip ties (for broken buckles temporarily)
- Duct tape (for anything else)
The best practice is to buy a pack from a brand that sells replacement parts and offers a lifetime repair program—this is a stronger durability signal than thickness alone. In fact, a high-quality durable camping backpack for men from a specialized manufacturer will have a higher resale value and a longer functional life.
How to Patch a Rip While on the Trail
Clean the area with dry cloth. Cut the patch to a rounded circle (corners peel sooner). Apply the patch to the inside of the pack if possible. Press firmly for 2 minutes. For seam tears, sew a stitch line first, then apply tape on both sides.
A common mistake is patching over a wet surface—adhesive won’t bond. Wait for rain to stop, and use a small alcohol wipe to degrease the fabric. After patching, test load the pack gently to ensure the adhesive holds.
How Many Liters Do You Need for WA Multi-Day Hikes?
WA’s diverse climates mean you carry more insulation and rain gear. For a weekend (2-3 days), use 40-50 liters. For a week-long Olympic Peninsula loop, opt for 60-70 liters. For technical climbs (e.g., a Glacier Peak summit), keep it under 50 liters to stay agile.
However, a larger pack isn’t more durable—it just allows more weight. The durability threshold is around 50 lbs total weight. Exceeding that stresses the frame and seams, regardless of liter capacity.
Weekend vs. Expedition Pack Loads
For a 3-day trip in the North Cascades, a 45L pack with no more than 25 lbs is ideal. For a 7-day trip in the Winds, you may need 70L, but carry a bear canister inside—an incompatible shape can cause uncomfortable packing.
Check the pack’s max recommended load. If it says “up to 50 lbs,” subtract 10-15% for proper durability. Overloading a 60L pack with 60 lbs will break the bottom frame faster than 40 miles of rough trail.
Hybrid Packs: Daypack Overnighters
Some packs have a removable lid or roll-top that converts from 30L to 45L. These are less durable due to extra zippers and seams. However, they are ideal for high-intensity climbs where weight is critical.
For WA’s wet snow (think Camp Muir in spring), a 40L pack with a smooth exterior and no daisy chains prevents ice buildup and abrasions. Just ensure the material is at least 420D—lighter 70D Ultralight packs will not handle the steep, icy Hogsback trail.
Which Brands Offer the Best Durability for WA Conditions?
Osprey, Gregory, and Mystery Ranch consistently lead in durability due to high-denier fabrics and robust frames. But smaller brands like Seek Outside or ULA offer custom features for the PNW climate, such as removable floating collars and waterproof roll-tops.
Look for brands with a Washington or West Coast heritage—they understand the rain and sharp talus. Gossamer Gear, Hyperlite, and Zpacks are popular for ultralight but require careful handling. For durable use, a 3-season Gregory Baltoro 75 (1680D bottom) is a workhorse.
What to Check in a Store Before Buying
Test the zippers with 20 lbs of weight—they should slide smoothly without catching. Look at the stitching: 8-10 stitches per inch is good, tight and straight. Squeeze the hip belt—should feel firm, not spongy plastic.
Ask about the warranty. Osprey’s “All Mighty Guarantee” covers all damage, while Gregory covers defects. A lifetime warranty is a great proxy for manufacturing confidence.
Performance Comparison: Budget vs. High-End Durability
| Price Range | Typical Fabric | Frame Material | Suitable For | Lifespan |
|---|---|---|---|---|
| Under $150 | 300D Nylon | Plastic stays | Light weekend trips | 2-3 years |
| $200-$300 | 500D Cordura | Aluminum stays | Rugged alpine climbs | 5-7 years |
| $350+ | 1000D Ballistic | Carbon fiber/SA Custom | Expeditions, heavy loads | 10+ years |
Don’t buy a cheap pack if you plan to traverse the timberline trails every month. The marginal cost of a robust pack is often cheaper per mile in the long run.
When Should You Replace Your Backpack Before It Fails?
Don’t wait for a catastrophic failure. Signs to replace a pack include a cracked frame stay, zippers that separate, or delaminated waterproof coatings (look for flaking or sticky residue inside). If you feel the pack sagging asymmetrically, the hip belt padding has flattened—a durability issue.
A good rule: on a 50-mile trip, if you have to duct-tape a seam more than twice, the pack has lost its integrity. Also, inspect the bottom wearing through to the white lining—this means the abrasion layer is gone.
How to Extend the Lifespan of Your Pack (Pro Tips)
- Store it loosely in a dry place, not compressed.
- Wash with waterproof soap (Nikwax Tech Wash) twice a year.
- Dry it upside down to prevent water pooling at the base.
- Apply UV protectant for high-altitude autumn hikes.
Recycling and Donation Programs
Instead of throwing away old packs, look for brand recycling programs (e.g., Osprey’s repair program). Some local outdoor shops in Seattle accept used packs for charity expeditions.
If you replace, donate your functional but old pack to a youth mountaineering club—it’s better than landfilling a partially usable product.
How Do You Test a Pack’s Durability at Home?
You don’t need to go on a 20-mile hike to test. Fill the pack with 30 lbs of sandbags or water, then walk up and down stairs for 20 minutes. Check for unusual noises, then inspect all seams and stitches.
A more aggressive test: drag the pack horizontally on a concrete floor. If you see white streaks or shiny spots after 10 feet, the fabric is too thin.
Quick Checklist: What to Look For
Run your hand along the inside bottom—it should be smooth, no sharp edges from aluminum frames. Pull on the compression straps: they should not stretch. Check the stitching on the load lifters—this is the highest-stress point.
Weigh the empty pack. A durable pack typically weighs 4-5 lbs. If it’s under 3 lbs, it may be too delicate for WA bushwacking, except if it’s Dyneema—then it’s simply expensive,Before hitting the damp alpine trails, make sure you know the best strategies for Layering Clothes for Desert Climates if your next adventure takes you south.
Pros and Cons of Buying Online vs. In-Store
- Online: Better selection and lower prices, but you can’t test fabric feel or frame fit.
- In-store: You can inspect seams, load weights, and use the fitting frame system—worth the premium for durability.
If online, buy from stores with easy returns. Use a measuring tape to simulate the torso length and read 20+ reviews to spot common failure patterns. Also, check if the online brand stocks spare parts.
Frequently Asked Questions
Is a heavier backpack always more durable?
Generally, yes, because heavier packs use higher denier nylon and metal frames. However, a pack made with 400D Dyneema can be more durable than a 600D polyester pack, as Dyneema’s fiber tenacity is higher. Always check the specific material, not the total weight alone.
Can I use a WA hiking backpack for mountaineering with crampons?
You can, but choose a pack with a reinforced bottom and ice axe loops. The abrasion of crampons on the pack’s front pocket will degrade even 1000D nylon over time. Use a gear rail or special crampon pouch to avoid punctures.
What does “ripstop” mean in a camping backpack?
Ripstop is a reinforcement weaving technique. A nylon thread is interwoven in a grid pattern every few millimeters, which stops small tears from enlarging. It’s not necessarily more abrasion-resistant, but it prevents damage from spreading—excellent for WA’s sharp branches.
How do I clean a muddy backpack after a WA hike?
Use a soft brush to remove mud, then wipe with a damp cloth and lukewarm water. Do not machine-wash, as it can damage the waterproof coatings. For smell, use baking soda and water. Always air dry thoroughly before storage to prevent mildew.
Is it worth buying a pack with a rain cover included?
The included rain cover is usually thin (70D) and flimsy. Instead, buy a 1000D waterproof cover separately, or use a pack liner (a large dry bag). This is more durable and protects the pack’s interior just as well.
Conclusion
Choosing a durable camping backpack for WA hikes isn’t about chasing the heaviest or most expensive option—it’s about matching fabric, frame, and weatherproofing to the specific extremes of the Pacific Northwest. You’ve learned to prioritize 500D+ nylon, checked the seam tape, and confirmed the frame geometry. You know how to test your pack before a trip and how to repair it after—so it stays reliable for seasons. Remember to consider the total loaded weight, not just the pack’s volume, to prevent premature failure.